I may receive a commission if you purchase something mentioned in this post. See more details here.
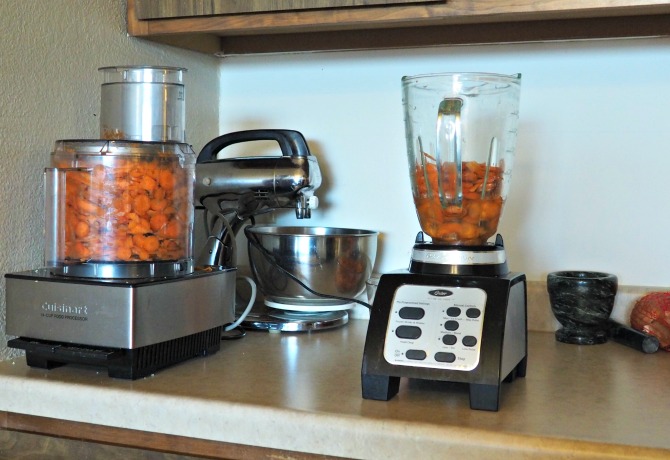
Here’s the thing: I have a very small kitchen. I’m also on a tight budget. I don’t have the option of having a kitchen filled with small appliances. So when the time came for me to add juicing into my GAPS routine, I learned how to juice without a juicer.
If you ask most people, they will tell you that you need a real juicer for juicing, especially with the GAPS diet. On this diet, commercial juice is not allowed, since it is pasteurized. Juices must be freshly pressed to preserve the enzymes and nutrients that are the reason these juices are so good for us. But not everyone can afford a bit fancy masticating juicer like this one. Sure, I’d love to have one. It produces the highest quality fresh juice for a lot less work. And the juice can be stored for up to 72 hours without degrading. But it’s not an option right now.

Why Juicing
The reason this is an issue is because I am on the GAPS Diet. I was never a fan of juice before. In fact, I considered skipping adding juice altogether when it came to that point. If you don’t want to juice, that is definitely a choice. However, juicing can be detoxifying and allows for quick absorption of vitamins and minerals. It can be a great remedy for constipation. This might be TMI, but that’s why I decided to do it. It helped for me, so it’s a tool I like to keep in my back pocket.
For some people, not juicing may be a better option than juicing without a juicer. For others, like myself, less optimal juice is better than no juice at all. It is still unpasteurized and consumed fresh, so there are still many benefits that can be received from this juice.
The choice is yours. If you would like to test the benefits of juicing without the investment, read on to learn how to juice without a juicer.
How to Juice without a Juicer
The following tutorial shows me making 100% carrot juice, which is the starting point for juicing on GAPS Intro. This method of making juice in a blender works for all types of juices!
1. Wash and chop your juicing ingredients.

2. Add them to the blender. Any type of blender should work fine.
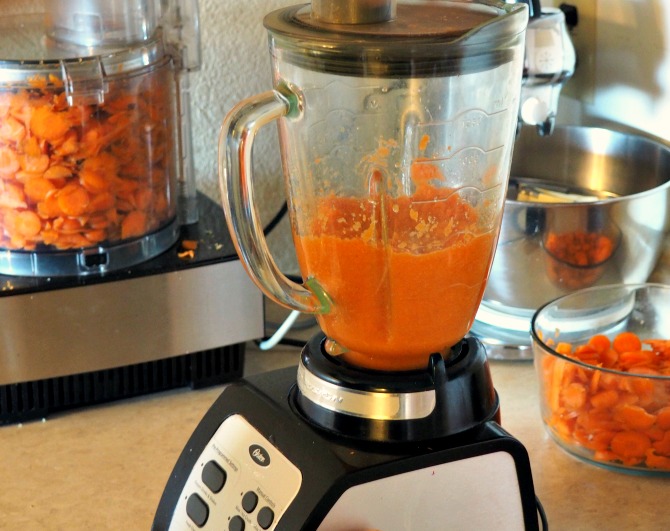
3. Add a small amount of filtered water. With more watery vegetables, you may not need any. If you like your juices more dilute, add more. For my carrot juice, I usually add enough water to come slightly less that halfway up the carrots. It just needs to be enough to help get things moving.

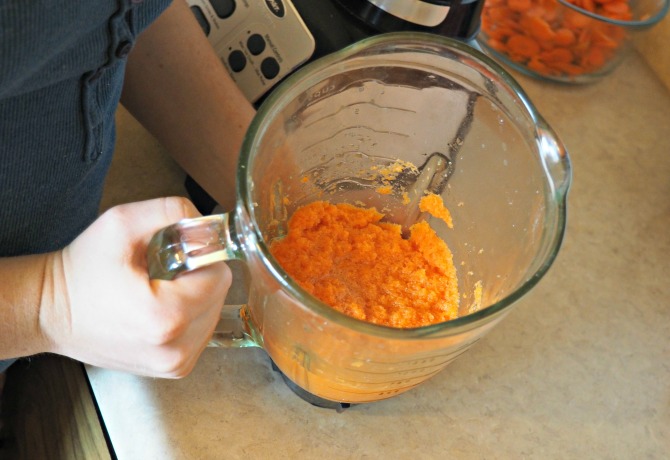
4. Blend on medium until the ingredients are well pulverized.

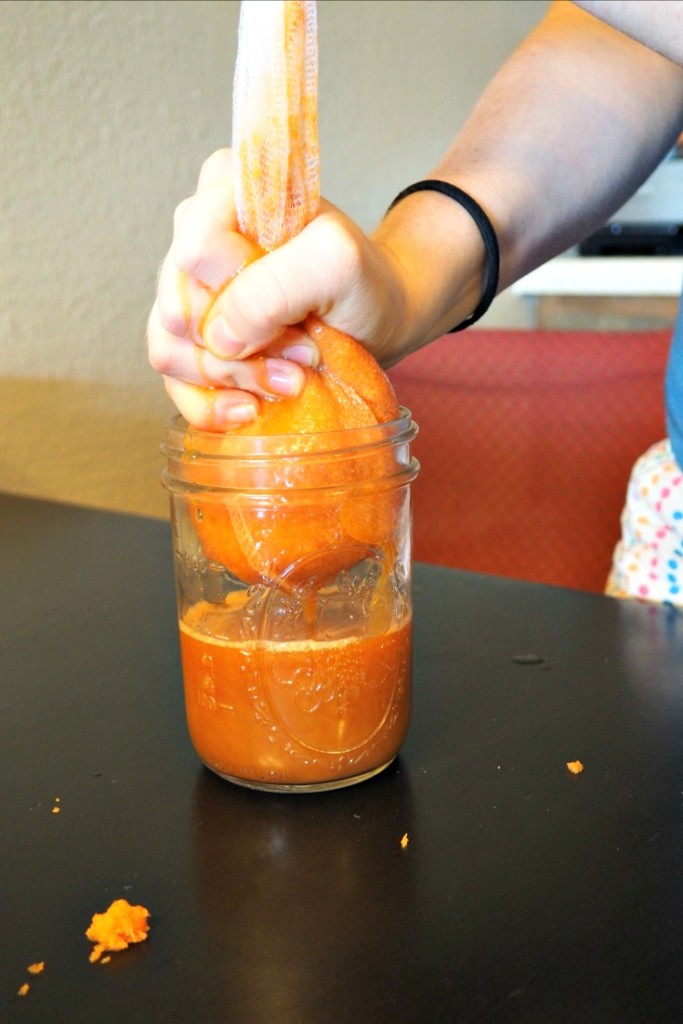
5. Place a nut milk bag in your desired cup/contained and pour the blended ingredients in.

6. Squeeze as much liquid out of the nut milk bag as possible. Save the leftover pulp to add to soups, meatloaf, baked goods, and a variety of other things (it can be frozen).

7. Enjoy your juice! It is best to drink on an empty stomach, such as first thing in the morning before breakfast.
Tips: If you enjoy the benefits of juicing, but find that it spikes your blood sugar, try adding fat and protein to your juice. I’ll be sharing my favorite recipe for the so-called “GAPS Milkshake” in a few weeks.
Want to make a large batch? It is recommended to always drink juice fresh. However, I believe that if you are experiencing benefits with juicing, less-than-optimal juice may be better than no juice at all. Try freezing your juice immediately and thawing it in a water bath when you want it. While this will be most successful with juice from a masticating juicer, it should also be fine in a pinch with juice made in a blender. You may notice that drinking juice this way does not provide the same benefits. If this is the case, then it is up to you to decide what is most important to you when it comes to juices.
[yumprint-recipe id=’7′]
Do you juice? What is your favorite type of juice to make?
Shared on Allergy Free Wednesday, GAPS Recipe Roundup, and Wildcrafting Wednesday.
Like what you see? Please support this blog and help me keep it running by signing up for my newsletter, purchasing products, or donating through the links below:
DISCLOSURE: In order for me to support my blogging activities, I may receive monetary compensation or other types of remuneration for my endorsement, recommendation, testimonial and/or link to any products or services from this blog. The information contained in this post is not intended nor implied to be a substitute for professional medical advice, it is provided for educational purposes only. You assume full responsibility for how you choose to use this information. For more information, click here.


I love this. I like when we can find ways to use the equipment we already have! Thank you.
Me too!
So cool! That’s such a great idea. My juicer broke a few years ago and I don’t have the means to replace it. Good ones are so expensive and not in my budget. I really appreciate this post. Thanks!
I’m glad you like it! A juicer is definitely not in our budget, especially since we would have to get rid of it in 5 months when we move. It’s good to have other options.
I have wanted a juicer for a while now but just can’t afford it right now! I am going to try this! Thank you!
Good for you!! Looks delicious!
I used to do this before I got a juicer! It’s really not that hard…and I love having all that fresh juice!
Such a helpful tip! Sharing on my Facebook page. Thanks!
Thank you!
Very resourceful! I am visiting from Wildcrafting Wednesdays! Have a lovely week 🙂
Thank you! Have a wonderful week as well.
Great post. Congrats on being chosen as a featured post on this week’s Wildcrafting Wednesdays! I hope you’ll join us again and share more of your awesome posts.
http://www.herbanmomma.com
Thank you so much!
I really appreciate finding this post! It’s going to help me introduce juicing into my GAPS diet 🙂
Thank you! I am glad to hear that!
I would like try this one out! Can I use a cheesecloth in stead of a nut milk bag, cause I don’t have one of those……
Yes, a cheesecloth should work just fine.
Thanks 🙂
Love this! I just wanted to add – for anyone who may have been vacationing like we were a few weeks ago, and found that I had no cheesecloth or nutbag with me to produce my toddler’s carrot juice: I actually used two paper towels! Now, they did tear apart after several squeezes so I probably didn’t get as much as usual, but it worked for us in a pinch and got the job done 😉 I love helpful posts like this that actually make GAPS attainable for those who have less-than-ideal financial or living situations.
Great suggestion! Thanks for sharing!
Personally I think if you’re going to go to all the trouble of making juice, you’re almost better off getting a cheap juicer, as it will save you a lot of work. In saying that, I can totally see why some people prefer to use blenders instead. They are certainly more useful when it comes to making dairy based recipes that’s for sure.
Good choice using a nut milk bag though.
I definitely agree! However, if you don’t know if you will like and see benefits from juicing, this is a cheap way to try it out.
Thanks for sharing such beautiful information with us. I hope you will share some more information about juice.Please keep sharing.
Health Is A Life