I may receive a commission if you purchase something mentioned in this post. See more details here.
My wedding is two months from today. Cue panicking.
But it’s okay. I have a dress. Will has a suit. We have a church, reception venue, and caterer booked. And today we mailed out the invitations. As long as we don’t forget to pick up a marriage license, the wedding will happen and we will be married.
But no panicking.
I’m really excited about the invitations. They are the biggest DIY project I’ve done for the wedding so far and they turned out amazing. And they are done! I was really worried but we cut some corners and it was actually really easy.
Purchasing Invitations

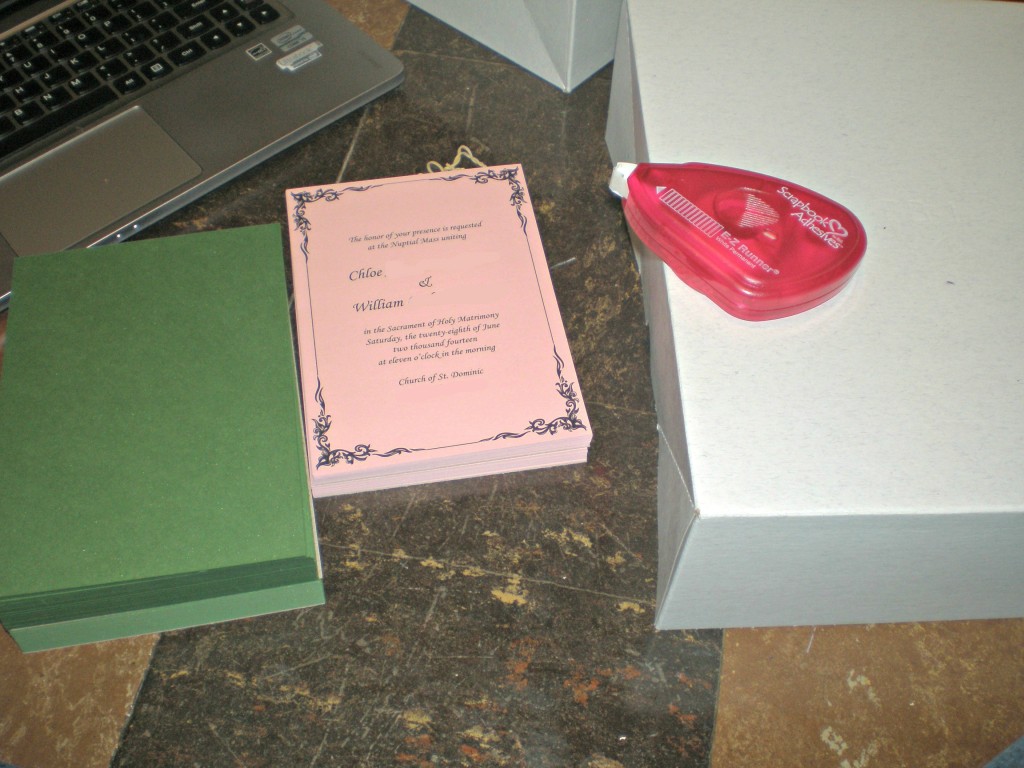
All the paper needed for my invitation (two RSVP cards to show both sides)
Invitations are expensive. There is no way around it. They don’t have to be, of course. You can print the information on a piece of paper and stick it in an envelope. Boom. 50 cent wedding invitation. But say you want something nice. Something formal. Something that includes an RSVP card. Oh and stamps.
The more your shop around and DIY, the cheaper the invitations will be. Unfortunately, the amazing local paper shop was closing. But luckily we had already picked out our paper and invitation design, so we got 50% off paper! Because of this, the paper and envelopes for our invites cost 74 cents/invite.
Good deal, right? Well, then you have to decide how you are going to print them. We went with professional printing. We also paid them to cut the invitations, because the time saved was worth it to us. Then you have to pay for tape to assemble them. And stamps. One stamp for the RSVP card and one stamp for the main envelope. This is when you decide less is more and make your invitations weigh less than an ounce. With paper, printing, cutting, and tape, our invitations cost $2.84 each. With stamps they cost $3.64 each.
It was all worth it. They turned out beautiful. Plus we have leftover paper in our wedding colors for other projects!
DIY Wedding Invitation Tutorial
These invitations are actually quite easy to make. All you need to do is pick your paper, print it out, and cut!
Dimensions (in inches):
Backer (on cardstock): 5×7
Invitation: 4.75×6.75
Reception Card: 4.25×6
RSVP Card (postcard on cardstock): 5×4.25
Belly Band: 1×8.5
Get comfortable and set everything up. I just used the box all my paper came in as a table. I chose to do this project assembly-line style. Attach all the invitations, then attach all the belly bands, then stuff and seal all the envelopes. It’s up to you and your fiance to decide what method you like best.
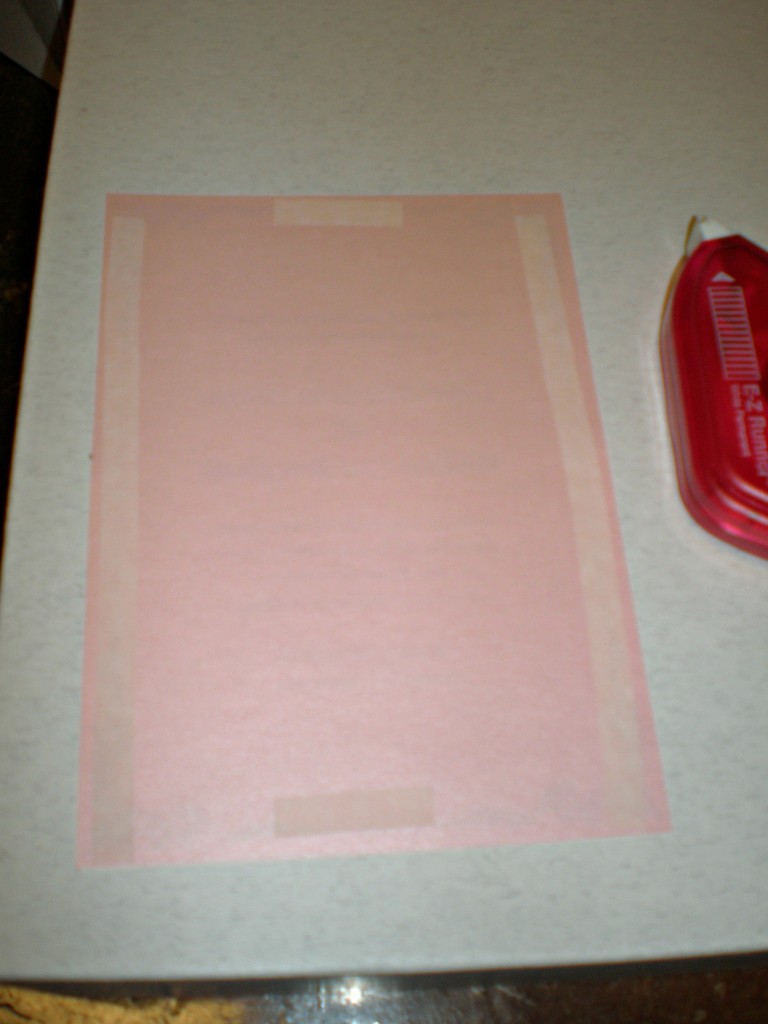
Next apply the double sided tape to the back of the invitation. You don’t need to cover all the sides – this just wastes tape! Even the following picture is a bit much. You could do this same pattern, but use the short end for the full length.
Carefully place the invitation centered on the backer and press it down, making sure that the tape is secure:

Now work on the back. I had two enclosure cards – a reception and misc. information card and a RSVP postcard. These are slipped into a belly band on the back of the invitation.
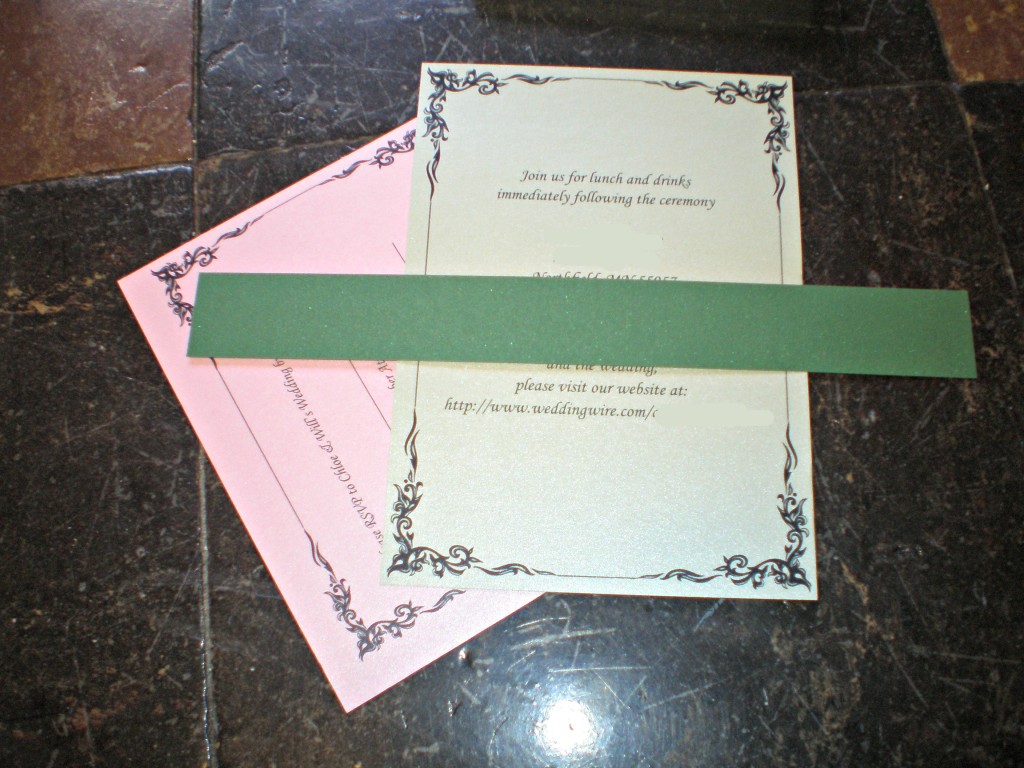
Wrap the belly band around the reception card so that it is folded to the right size:
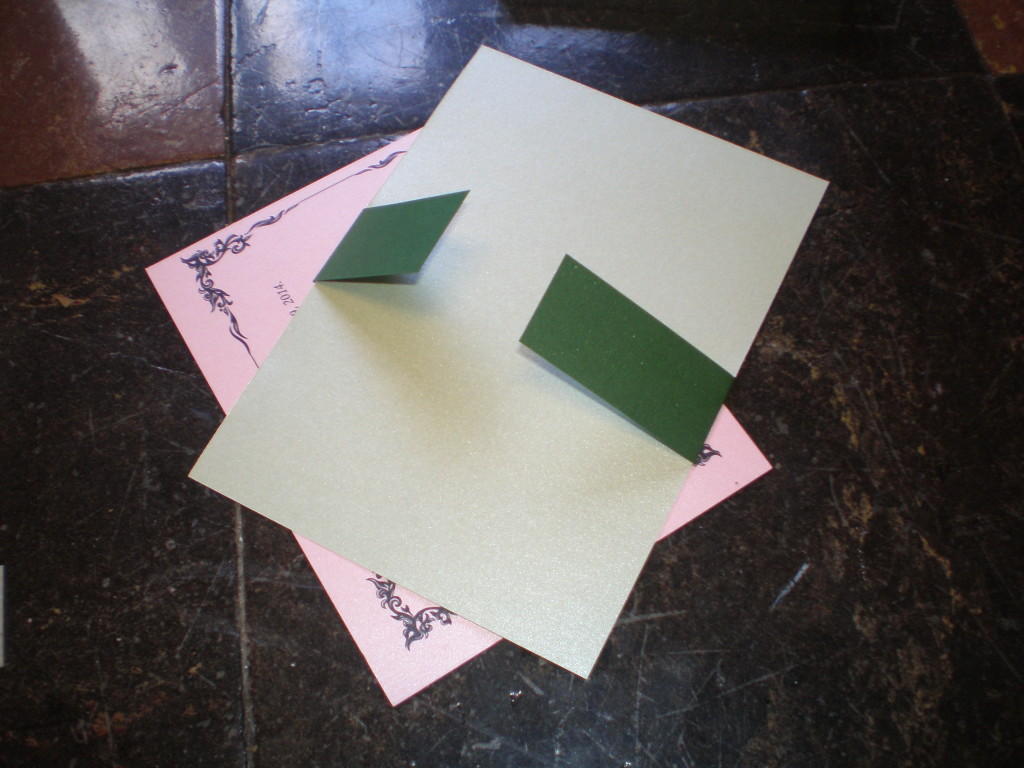
Apply tape to the folded ends to secure it to the backer:
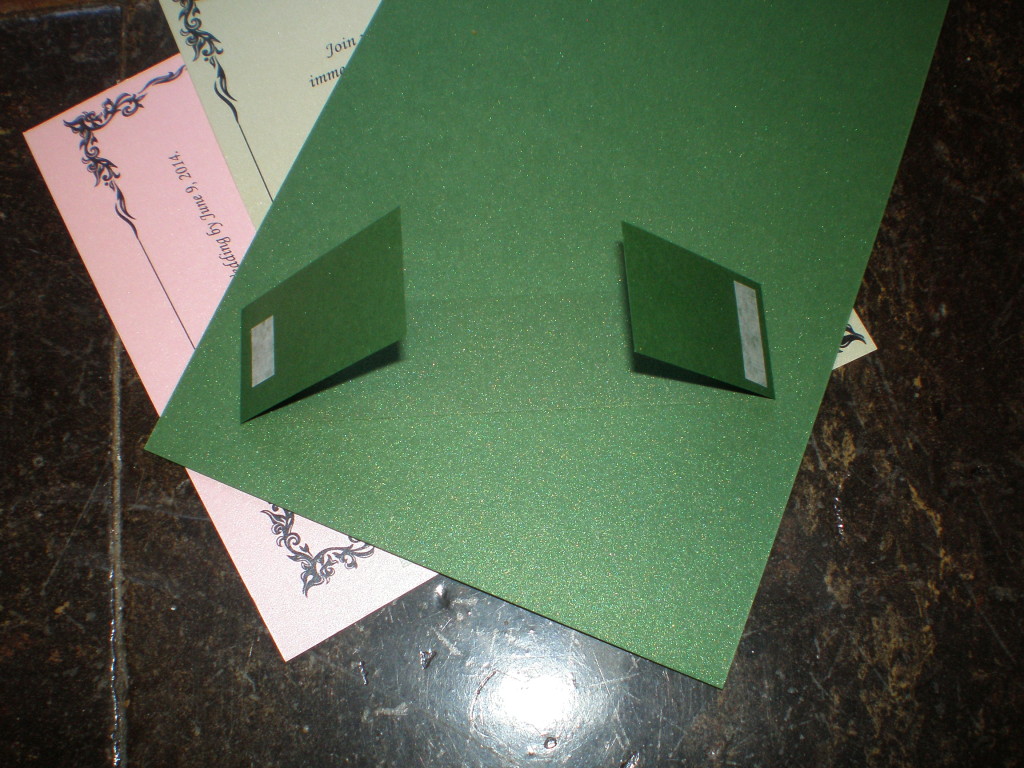
Affix the belly band to the center of the backer and slip the two cards in:
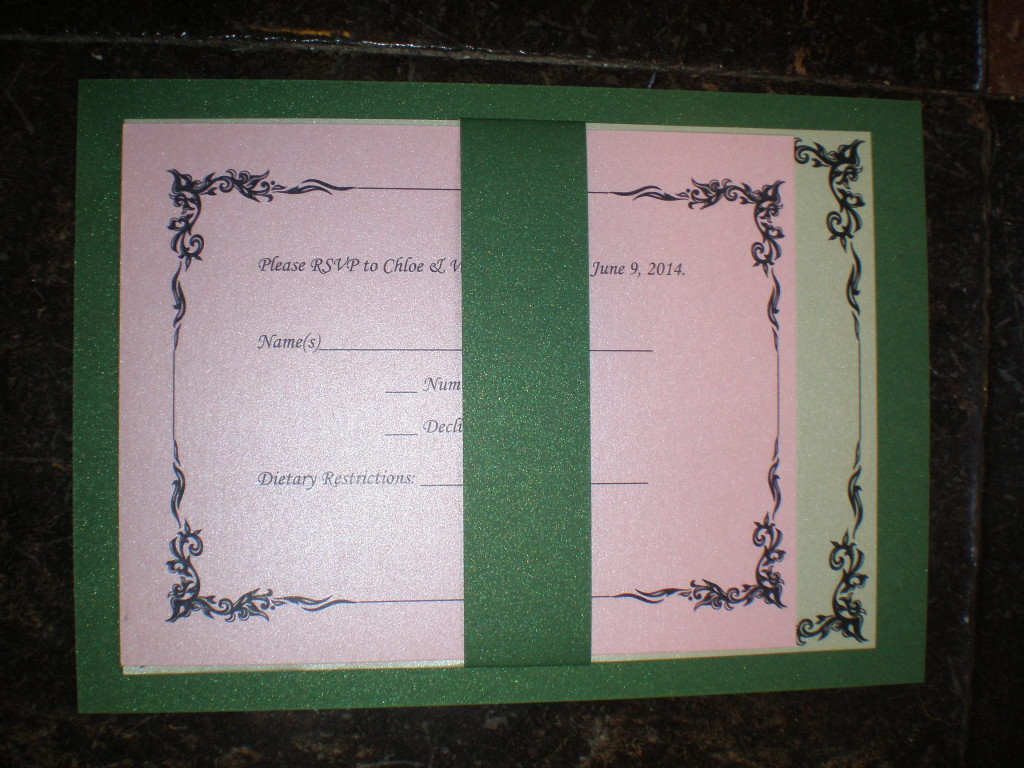
And that’s it! Your first invitation is complete! Slip it into your A7, address, and stamp, and put it in the mail! This project uses little enough paper that a standard postage stamp is sufficient.
Like what you see? Please support this blog and help me keep it running by signing up for my newsletter, purchasing products, or donating through the links below:
DISCLOSURE: In order for me to support my blogging activities, I may receive monetary compensation or other types of remuneration for my endorsement, recommendation, testimonial and/or link to any products or services from this blog. The information contained in this post is not intended nor implied to be a substitute for professional medical advice, it is provided for educational purposes only. You assume full responsibility for how you choose to use this information. For more information, click here.


Good-morning!
I’m a DIYer and this blog has been so helpful! Our wedding is 7/16/17 and I’m making all of our invitations. Mine are just like the once you made here with the exception of the belly band. I kept looking at my invites thinking that it was missing something. It was the belly band! Thank you so much for sharing. I look forward to more 🙂
I’m so glad this was helpful! Congrats on your wedding and good luck with the rest of the planning!