I may receive a commission if you purchase something mentioned in this post. See more details here.
When I first published my recipe for Creamy Chicken Soup, it was kind of a big deal. Dairy-free and free from expensive milk alternatives, this frugal technique improved texture and increased the nutrient density of my soups, without any negative impact on taste.
But now I have a problem: I no longer have a blender. And I think it would be rude to use my vegetarian roommate’s smoothie blender on chicken parts. I no longer have a pot large enough for a whole chicken, either. That at least solves my organ meat problem, as unfortunate as that may be. But I still have the chicken skins. I can’t just throw them away.
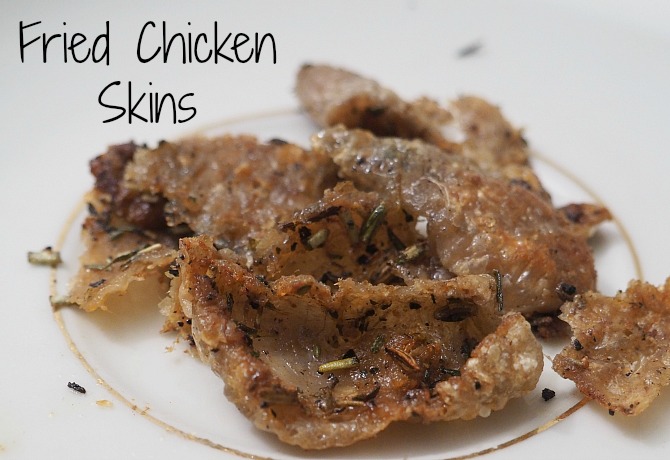
The answer: fried chicken skin.
I still recommend my creamy soup method. It gives you something to do with any giblets you may have and it is safe from Stage 1 of GAPS Intro.
However, for those who are not on Intro or who have reached Stage 4, this is a tasty way to eat those skins and add a bit of texture.
Fried Chicken Skin
You will have to keep an eye on these. If the pan gets too hot, they will burn quickly. But don’t worry; as long as you are watching (like I wasn’t the last time I made these!), it will be fine.
The real trick is getting them crispy enough. Crispy fried chicken skin is delicious. Soft, floppy chicken skins are pretty nasty. Don’t leave them in long enough to burn, but long enough that they will be good and crispy. Like good bacon (which I will only eat if it is 100% crispy).
Once these chicken skins are fried up, adding them to soups or salads in place of croutons or eating them plain are my two favorite ways to use them. What ideas do you have?
Note: I use already cooked chicken skins after making soup or broth. But you can use this same technique on raw skins – just ensure they cook long enough.
Ingredients
- Cooking Fat (butter, ghee, lard, etc.)
- Chicken Skins
Instructions
- Coat the bottom of a frying pan with a thin layer of your favorite cooking fat. Choose the size of pan based on how many skins you have.
- Spread the skins out in the pan, making sure none are folded over.
- Stir and turn occasionally as you would for making bacon. The length of time these will take depends on how thick they are.
- When both sides are well browned, remove from heat onto a paper towel.
- Enjoy!

Like what you see? Please support this blog and help me keep it running by signing up for my newsletter, purchasing products, or donating through the links below:
DISCLOSURE: In order for me to support my blogging activities, I may receive monetary compensation or other types of remuneration for my endorsement, recommendation, testimonial and/or link to any products or services from this blog. The information contained in this post is not intended nor implied to be a substitute for professional medical advice, it is provided for educational purposes only. You assume full responsibility for how you choose to use this information. For more information, click here.


I am in Stage 1 of AIP. If I use coconut oil to fry will this be ok? Thanks for the recipe!
That should work fine!